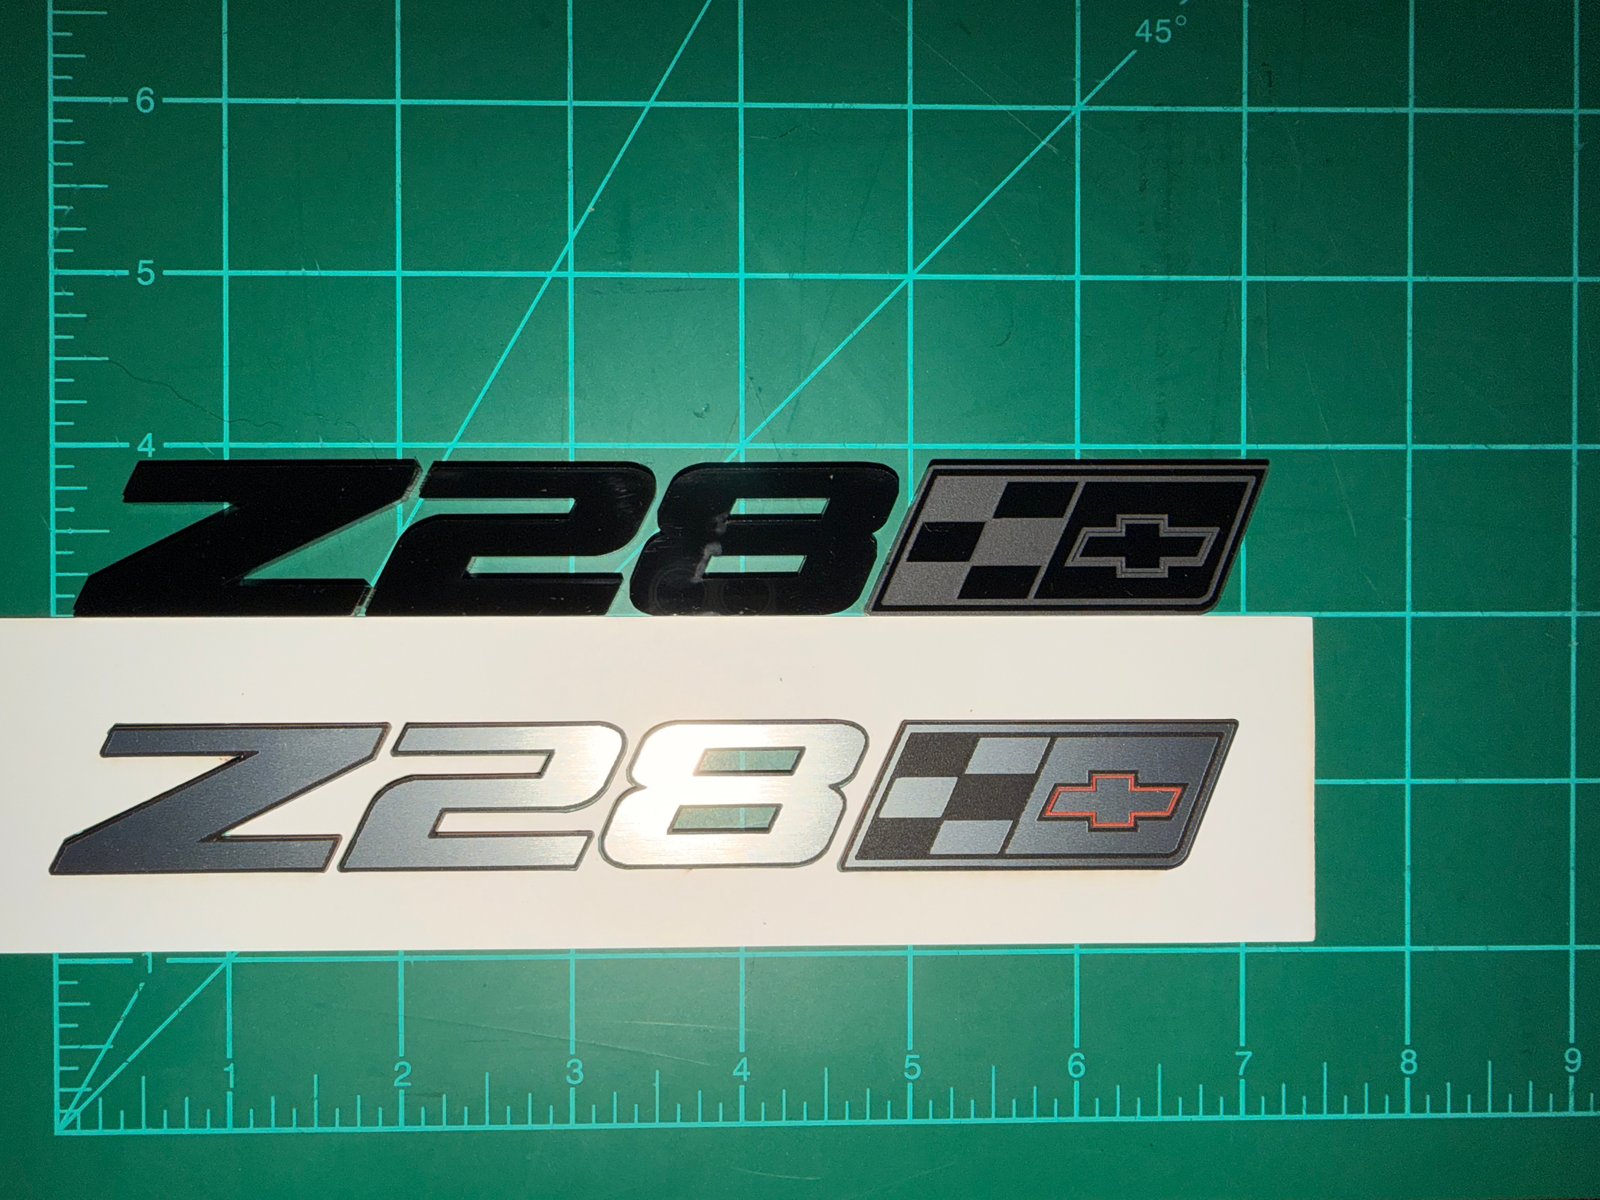
Learn how to choose the right size, acrylic finish and installation method for custom car badges, emblems and factory-style replacements.
A badge may be one of the smallest details on a vehicle, but it can completely change the way the finished build looks.
The right emblem can tie together the paint, wheels, trim and engine-bay details. The wrong one can look undersized, oversized or out of place—even when the badge itself is well made.
Whether you are replacing worn factory emblems, changing the finish of your existing badges or adding something personalized, three decisions matter most: size, finish and installation.
Start With the Badge's Intended Location
Before choosing a design, decide exactly where the badge will be installed.
A trunk, fender, grille, engine cover and fuse-box cover all offer different amounts of usable space. A badge that looks properly proportioned on a rear decklid may feel too large on a fender or disappear on a wide grille.
Look at the surrounding body lines, panel edges, handles, lights and existing trim. The badge should look like it belongs in that space instead of appearing squeezed into it.
When replacing an existing emblem, measure the original badge's overall width and height before removing it. Taking a straight-on photograph with a ruler beside the badge can also provide a useful reference.
Factory-Style Size vs. Fully Custom Size
Many customers want an aftermarket badge that keeps the general size and placement of the original emblem. That approach creates a clean, factory-inspired appearance while allowing the color, finish or design to better match the vehicle.
FORG3D's standard automotive badge pairs are produced at their listed approximate dimensions. These designs include:
- LSX
- LTX
- LSA
- LT4
- Z28
- Grand National
- 1LE
- Hellcat logo badges
These are custom aftermarket acrylic products and are not represented as original-equipment or manufacturer-produced emblems.
For a completely different word, logo, size or application, use our custom quote process. A custom badge can be designed around the available installation area instead of forcing an existing design into the wrong space.
Choosing the Right Acrylic Finish
Finish selection is where a small badge can make a major visual difference.
Gloss Black Acrylic
Gloss black works especially well with tinted lights, black wheels, dark trim and other blacked-out details. It offers a clean appearance without introducing another metallic finish to the vehicle.
Engraved gloss black acrylic adds visible contrast while maintaining the dark overall look.
Brushed Stainless-Look Acrylic
Brushed stainless-look acrylic provides the appearance of brushed metal while remaining an acrylic product. It pairs well with chrome, silver wheels, polished hardware and factory metallic trim.
It is not actual stainless steel, but it creates a convincing metallic-style appearance without the weight or fabrication requirements of a metal badge.
Gold-Look Acrylic
Gold-look acrylic works well as an accent against black, white and other contrasting paint colors. It can give a badge a warmer, more distinctive appearance without using real gold or metal.
Gloss White Acrylic
Gloss white can provide strong contrast on dark vehicles and can also complement white paint, stripes or other light-colored details.
Because lighting and screens can affect how colors appear, customers looking for an exact match or an unusual finish should request a custom quote before ordering.
Solid or Engraved?
A solid badge keeps the face visually simple and lets the badge shape and material finish do most of the work.
An engraved badge introduces recessed details, outlines or lettering into the face of the acrylic. Engraving can make smaller design elements easier to distinguish and create additional contrast without adding another separate layer to the front.
Neither option is automatically better. The right choice depends on the vehicle and the look you want to achieve.
If the surrounding build already contains several colors and graphics, a solid badge may provide the cleaner result. If the badge needs more detail or contrast, an engraved finish may be the stronger choice.
Why Full-Back Adhesive Coverage Matters
A badge is only as useful as its installation.
For FORG3D automotive badges, adhesive is applied to the back of the acrylic sheet before the individual pieces are engraved and laser cut. This allows the finished pieces to have adhesive covering the complete backside rather than relying on a few small strips added afterward.
Full-back coverage helps create consistent contact across the badge when it is installed on a clean, suitable surface.
Every standard badge pair also includes a cardstock placement stencil and installation instructions. The stencil helps keep the two sides positioned consistently and makes alignment faster and more precise.
Preparing the Vehicle for Installation
Even premium adhesive cannot compensate for an improperly prepared surface.
Before installation:
- Work on a clean, dry surface.
- Remove wax, grease, dirt and old adhesive residue.
- Test the badge position before removing the adhesive backing.
- Use the included stencil to check alignment and spacing.
- Avoid installing on an excessively hot, cold or wet panel.
- Apply firm, even pressure across the badge after placement.
Surface condition, temperature, curvature and the material underneath the badge can all affect adhesion. If the intended location is sharply curved, textured or damaged, contact FORG3D before ordering.
What Comes With a FORG3D Badge Pair?
Each standard automotive badge listing includes:
- Two matching acrylic badges
- Your selected available finish
- Preinstalled full-back adhesive
- A cardstock placement stencil
- Installation instructions
Quantity one represents one complete pair—not one individual badge.
Standard badge pairs are currently priced at $59.95. Shipping is calculated according to the website's current shipping rules, and eligible orders over $99 receive free standard shipping to the lower 48 states.
When Should You Request a Custom Quote?
A custom quote is the right choice when you need:
- Different wording or a unique logo
- A size not offered on a standard listing
- A special acrylic color or finish
- A badge for a different installation location
- More than one acrylic color
- A design built around a specific available space
- A larger emblem, sign or one-off vehicle detail
Include the desired wording, approximate dimensions, installation location and clear reference photographs when submitting the request. Accurate information helps us determine whether the project is practical and choose an appropriate construction method.
Small Detail, Big Difference
Custom badges do not need to dominate the vehicle to get noticed.
The best result usually comes from choosing a size that fits the panel, a finish that complements the rest of the build and an installation method that keeps everything straight and secure.
Browse FORG3D's current automotive products to see available badge pairs, engine-bay products and other vehicle-specific options. If the design you need is not listed, request a custom quote and tell us what you have in mind.
Shop Automotive Products
Request a Custom Badge Quote